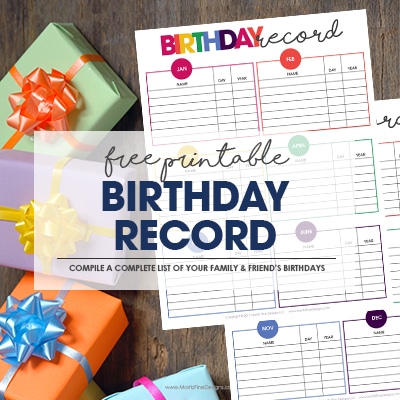
DIY Customizable Birthday Invitations

Planning a birthday party and need a really cute invitation? Try out one of these super-duper cute DIY Customizable Birthday Invitations!


No matter what age your kiddo is turning on his or her next birthday, you can use the free download (link at the bottom of the post) to customize the invite.
Here’s how to create your own DIY Customizable Birthday Invitation:
- Download the invitation you want to use from the link at the bottom of this post.
- Go to PicMonkey.com and click the “edit” button. This will allow you to upload the invitation you just saved to your computer.
- Start to add the text to your invitation: a.Click on the “Tt” option from the left hand menu. b. Click the “Add Text” box at the top of the column. c. Pick the font you want to use. d. Adjust the font settings.
- Save the invitation after all text is finalized.

Curious as to what fonts and colors I used on the sample invitation? I made sure to use fonts that are available to you in PicMonkey!
FONTS:
- Top Line: font: Tall Dark and Handsome, color: #cc1042 for girl, #b0c647 for boy
- Second Line: font: Lobster Two, color #f26c75 for girl, #787e81 for boy
- Main Text: font: Rokkitt, color: #515050
- Birthday Age: font: Times New Roman Bold, color: #fffff, fade: 25%


IT’S TIME TO
GET READY FOR 2026!
Get organized for 2026 with the easy to use monthly calendar! Simply opt in below to have the FREE calendar sent straight to your inbox.


