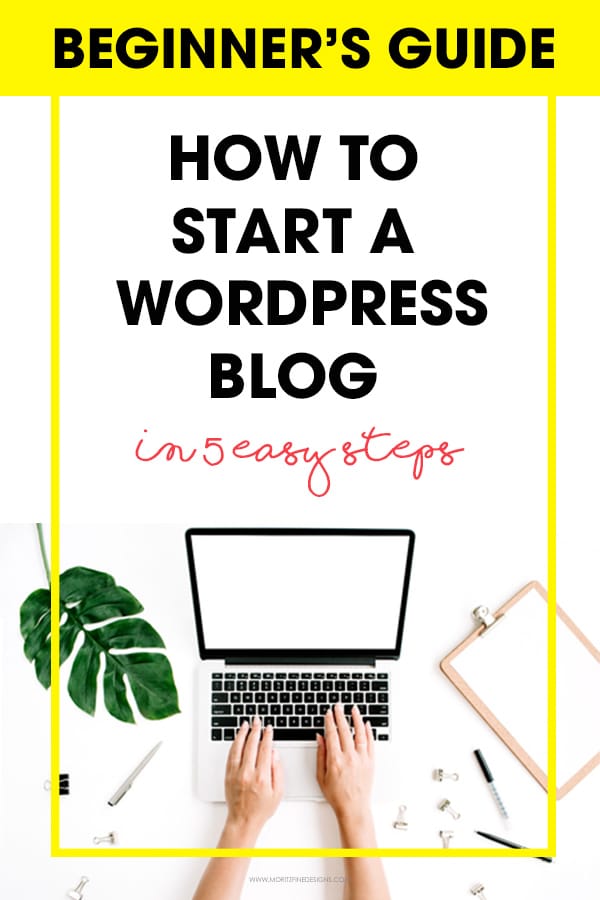
How to Start A Successful Blog | A Crazy, Easy Guide for Beginners
You’ve decided to start a blog. You have lots of great content all bundled up in your head and you are ready to get it out on the web.
This post may contain affiliate links.
Starting a blog, especially for those who are not very “tech savvy”, might seem overwhelming. There is so much to think about it’s hard to know where to begin. Over the years, I have worked with hundreds and hundreds of clients to help them get started. As a result, I have streamlined the process of how to start a successful blog. Simply put you can start a blog in 5 easy steps if you follow my process below.
1. PICK A WEB HOST
If you are just starting out, you don’t need to be spending lots and lots of money on hosting. You need good, quality and affordable hosting. After working with numerous host companies, I have found that you will get the most bang for your buck with Bluehost. Besides great hosting, Bluehost has amazing customer service–they are always available and go above and beyond. For a step-by-step guide on how to set up your site using Bluehost, go here.
If you are wanting hosting that is a bit more robust or if your blog has grown so much that you are ready to move to a host that will work with your specific needs, you will want to check out Agathon Group. They will get to know you by name and give you out of this world service!
2. CHOOSE A DOMAIN
This could possibly be the hardest part of the process. You may think of the most perfect domain name, but then find that it’s already taken. And so are then next 10 names you have thought of.
Keep your creative juices flowing. Include family and friends to think of the perfect available domain name. I suggest purchasing it through you hosting company, then it will be connected to your server.
Money saving tip: If you choose to use Bluehost, you will get your domain name for free with the purchase of hosting.
3. INSTALL WORDPRESS
After hosting is set up, you will need to install WordPress (.org) on your server. Head to your cPanel and look for the WordPress logo. Click on the WordPress Logo link (this might vary slightly from host to host) and the WordPress install will automatically install the platform for you. Once this is done, you are ready to pick a theme.
4. PICK A THEME
There are so many amazing themes available, but I highly recommend using Genesis platform with a child theme. What does this mean? Thing of it like a house. WordPress is your foundation, Genesis is the framework of the site and then the child theme is what makes it pretty! You can purchase Genesis here and there are even child themes available from StudioPress.
I have to say, I am very partial to the child themes from Restored 316 Designs. They are designed with specific functionality in mind and are so pretty. I also love the amazing amount of flexibility that comes with each theme. You can simply set it up to look like the theme demo, but why do that when you can easily make it look custom to fit your needs.
Once you have purchased your theme, you will need to install. In your WordPress dashboard, go to Appearance>Themes>Add New>Upload>pick the zipped theme file and install. If you are using Genesis, you will need to install the Genesis them first, and then install the child theme.
5. COLLECT EMAIL ADDRESSES
When setting up your site, from the get-go, you want to start collecting your reader’s email addresses. Email addresses are the most valuable piece of information you can gather! It’s more important than Facebook likes, Twitter followers or even Pinterest followers. This email list you gather sets you up for success down the road–it allow you to access your readers whenever you want to via email.
There are numerous email & marketing companies. But, there is a new player out there that is ultimately going to be your best solution. ConvertKit gives you the most and best functionality available! It allows you to place multiple sign-up forms on your site as well as the ability to tag your email sign ups. With these options, it allows you to target specific groups of subscribers within your email list. ConvertKit is awesome!
WOW! Can you believe how easy that set up was? Now it’s time for the fun part! This is the moment you have been waiting for…it’s time to get all that great content on to your site. Start writing great content and be sure to include awesome images.
Have questions? I’m happy to help! Just leave me a comment below!
IT’S TIME TO
GET READY FOR 2026!
Get organized for 2026 with the easy to use monthly calendar! Simply opt in below to have the FREE calendar sent straight to your inbox.