DIY Personalized Pillow
It’s time to change out my winter pillows for spring ones. I easily get board with the same old throw pillows on my couch and love to change them up frequently.
This could get really expensive, but over the years, I have found the best and cheapest way to keep changing throw pillows is to invest is some really good down/feather pillow inserts and then to just change the pillow covers. If you have a HomeGoods somewhere near you, you can find feather pillows with really pretty covers for as little as $12.99! Start out with buying one set of pillows that you like and then seasonally you can purchase new covers or make them yourself!
My Spring Mantle is a bit whimsy and airy looking, so I decided to make a simple monogram & personalized pillow using the leftover paint canvas material I had from my adorable Christmas Pillows.
STEP 1
Make or purchase your pillow cover. I made the same envelope back pillow as the Christmas Pillows (if you need a tutorial on how to make envelope back pillows, check out this one from The Happy Housie). For all of you non-sewers, I have also seen canvas pillow covers available at Hobby Lobby, Michael’s and even Meijer and Wal-Mart or Amazon!
STEP 2
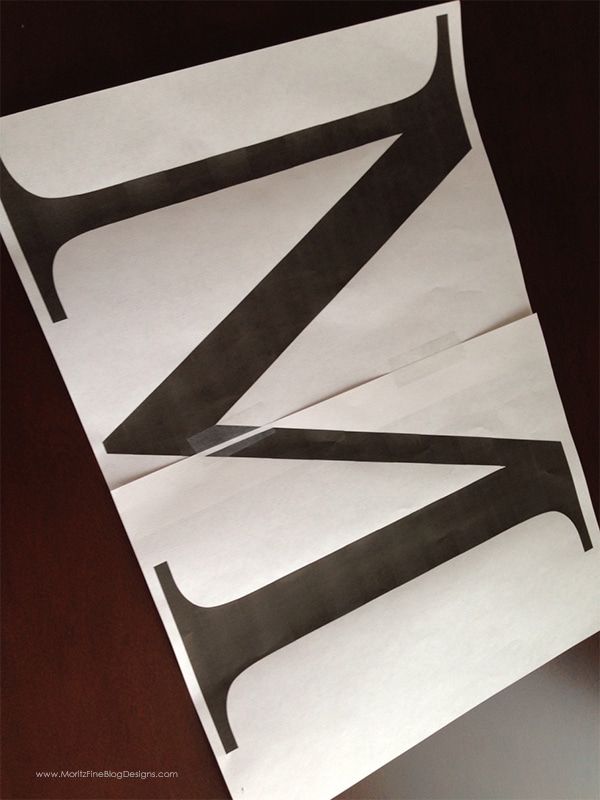
Head to the computer and make your text for the front of the pillow. Your size of text will depend on the size of the pillow cover you have. For my letter “M” I used the font Times New Roman. For the “moritz” pillow I used the Minion Pro font. You can make your text in any program you want. I used Photoshop, but Microsoft Word would work just as well.
When you print your text, it might be too big to fit on one sheet of paper, so just print parts of the letter and piece them together with a little tape.
STEP3
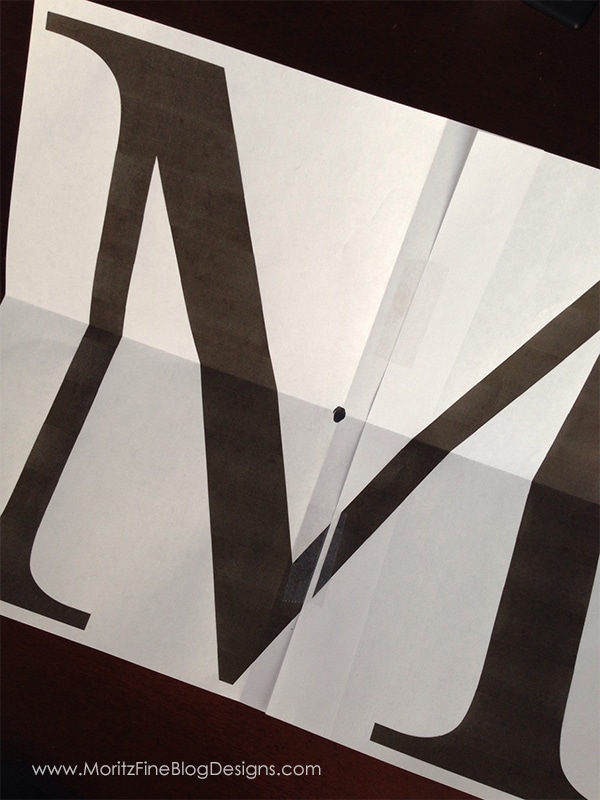
Find the center of the text print out by folding it in half both horizontally and vertically. Mark this spot with a large dot.
STEP 4
Find the center of the pillow cover by folding it in half both vertically and horizontally and mark it with a small pencil mark.
STEP 5
Insert the text sheet of paper into the pillow cover and line up the center dots. I also measured each side of the pillow to the paper inside to make sure the text was straight. After this, pin the paper in the pillow so it doesn’t shift.
STEP 6
Hold the pillow up to a window in order for light to stream through and trace the text with a pencil.
STEP 7
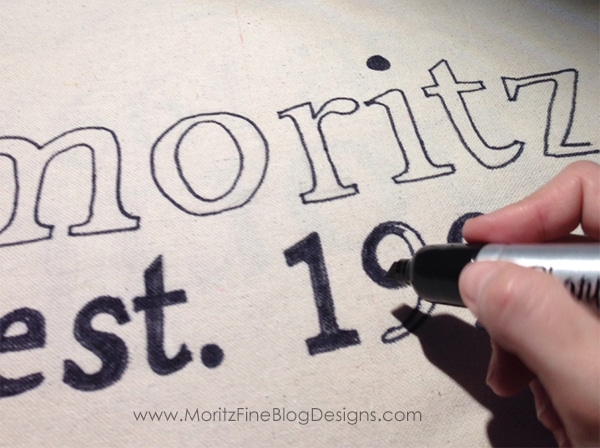
Use a sharpie marker, laundry marker or fabric marker to trace your letters and color them in.
IT IS POSSIBLE TO
ENJOY STRESS FREE HOLIDAYS THIS YEAR!
The holiday season can be downright exhausting. We have too many things to do and not enough time to get them done. The 2024 HOLIDAY PLANNER will not only help you get organized, but will also help melt away that holiday stress so that you can actually enjoy the season!


